Qualification of Pedestal units using CMM

Measuring and constructing the planes
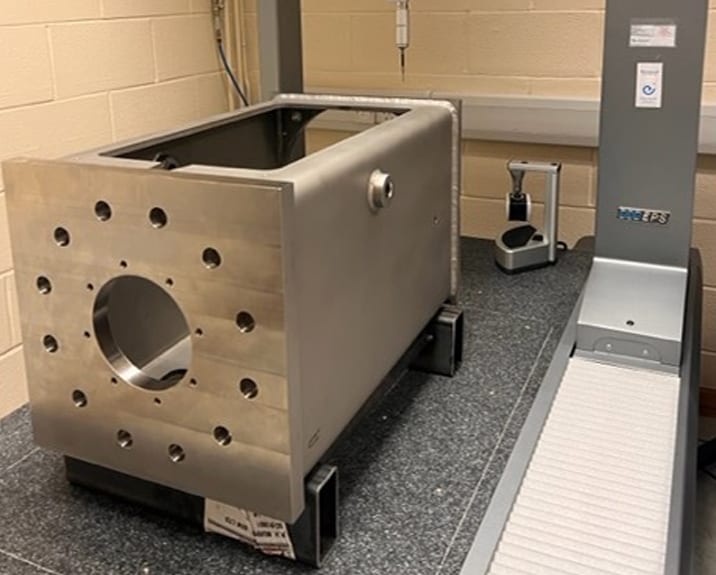
Challenge: Inspect two pedestal units to determine squareness and parallelism of the units as well measure the required dimensions (thickness of the upper and lower plate).
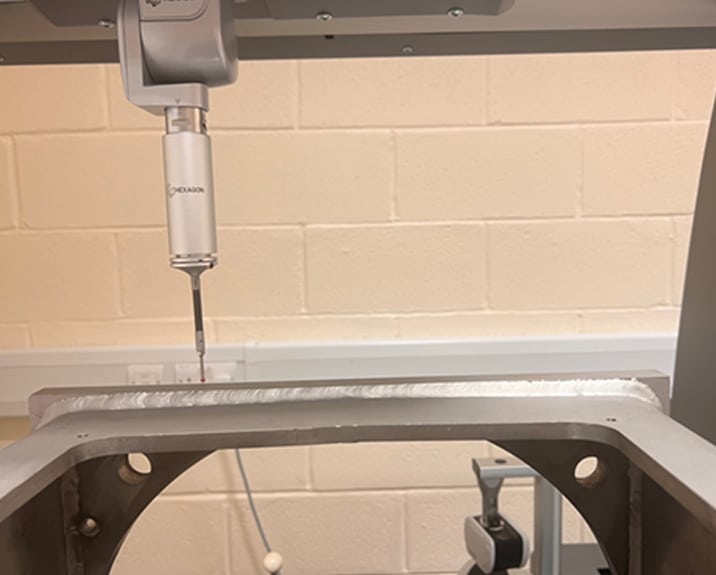
Solution: Using SEAMS’s advanced Hexagon Bridge CMM machine with laser probe for accurate high speed results
- With the help of the touch probe, points have been measured along the surface. The number of points for each plane was different depending on how big is the surface.
- Thirty-two points were used to construct the external surface of the upper plate. Twelve points were used to construct the internal surface of the upper plate.
- Twelve points were used to construct the external surface of the lower plate. Due to limited accessibility and a small surface, only six points were used to construct for the internal surface of the lower plate.
CMM inspection results
For a perfect square, the red and blue planes and the red and yellow planes should be at 90⁰ from each other in all three directions (X, Y, and Z).The system enables us to quickly and accurately measure for any deviation based on the measured angles in the X, Y, and Z directions.
Upper and Lower Plate Side Surfaces Relative Parallelism
The parallelism of the side surfaces of the upper and lower plates was determined by measuring the parallelism and angle between the planes created on those surfaces
Upper and Lower Plate Side Surfaces Relative Positioning
The relative positioning of the side surfaces of the upper and lower plates was determined by measuring the angle between the planes created on those surfaces. The corresponding surfaces are highlighted by the same colour. In perfect parallel planes, an angle should not exist.

21
Years in business
1
Manufacturing company
1
Direct funded project
“Very impressed with SEAM’s professional way of handling large sized component, their detail report and quick turnaround time on this metrology related project.”
Martin Kelly, MD Glazik
Glazik & SEAM Technology Gateway partnership
The two pedestal units were successfully inspected. The dimensions of interest were measured and reported a comprehensive report to the customer. The squareness, identified by the parallelism and distance between each pedestal unit’s upper and lower plates, have been compared.